Steps to Filling Out Pre Trip Inspection Checklist
Completing the Pre Trip Inspection Checklist is an essential step to ensure safety and compliance before hitting the road. This checklist helps identify any potential issues with your vehicle, allowing you to address them before they become serious problems. Follow these steps to fill out the form accurately and efficiently.
- Begin by writing down the date and time of the inspection at the top of the form.
- Next, enter your name and contact information in the designated fields.
- Check the vehicle identification number (VIN) and write it down to ensure you are inspecting the correct vehicle.
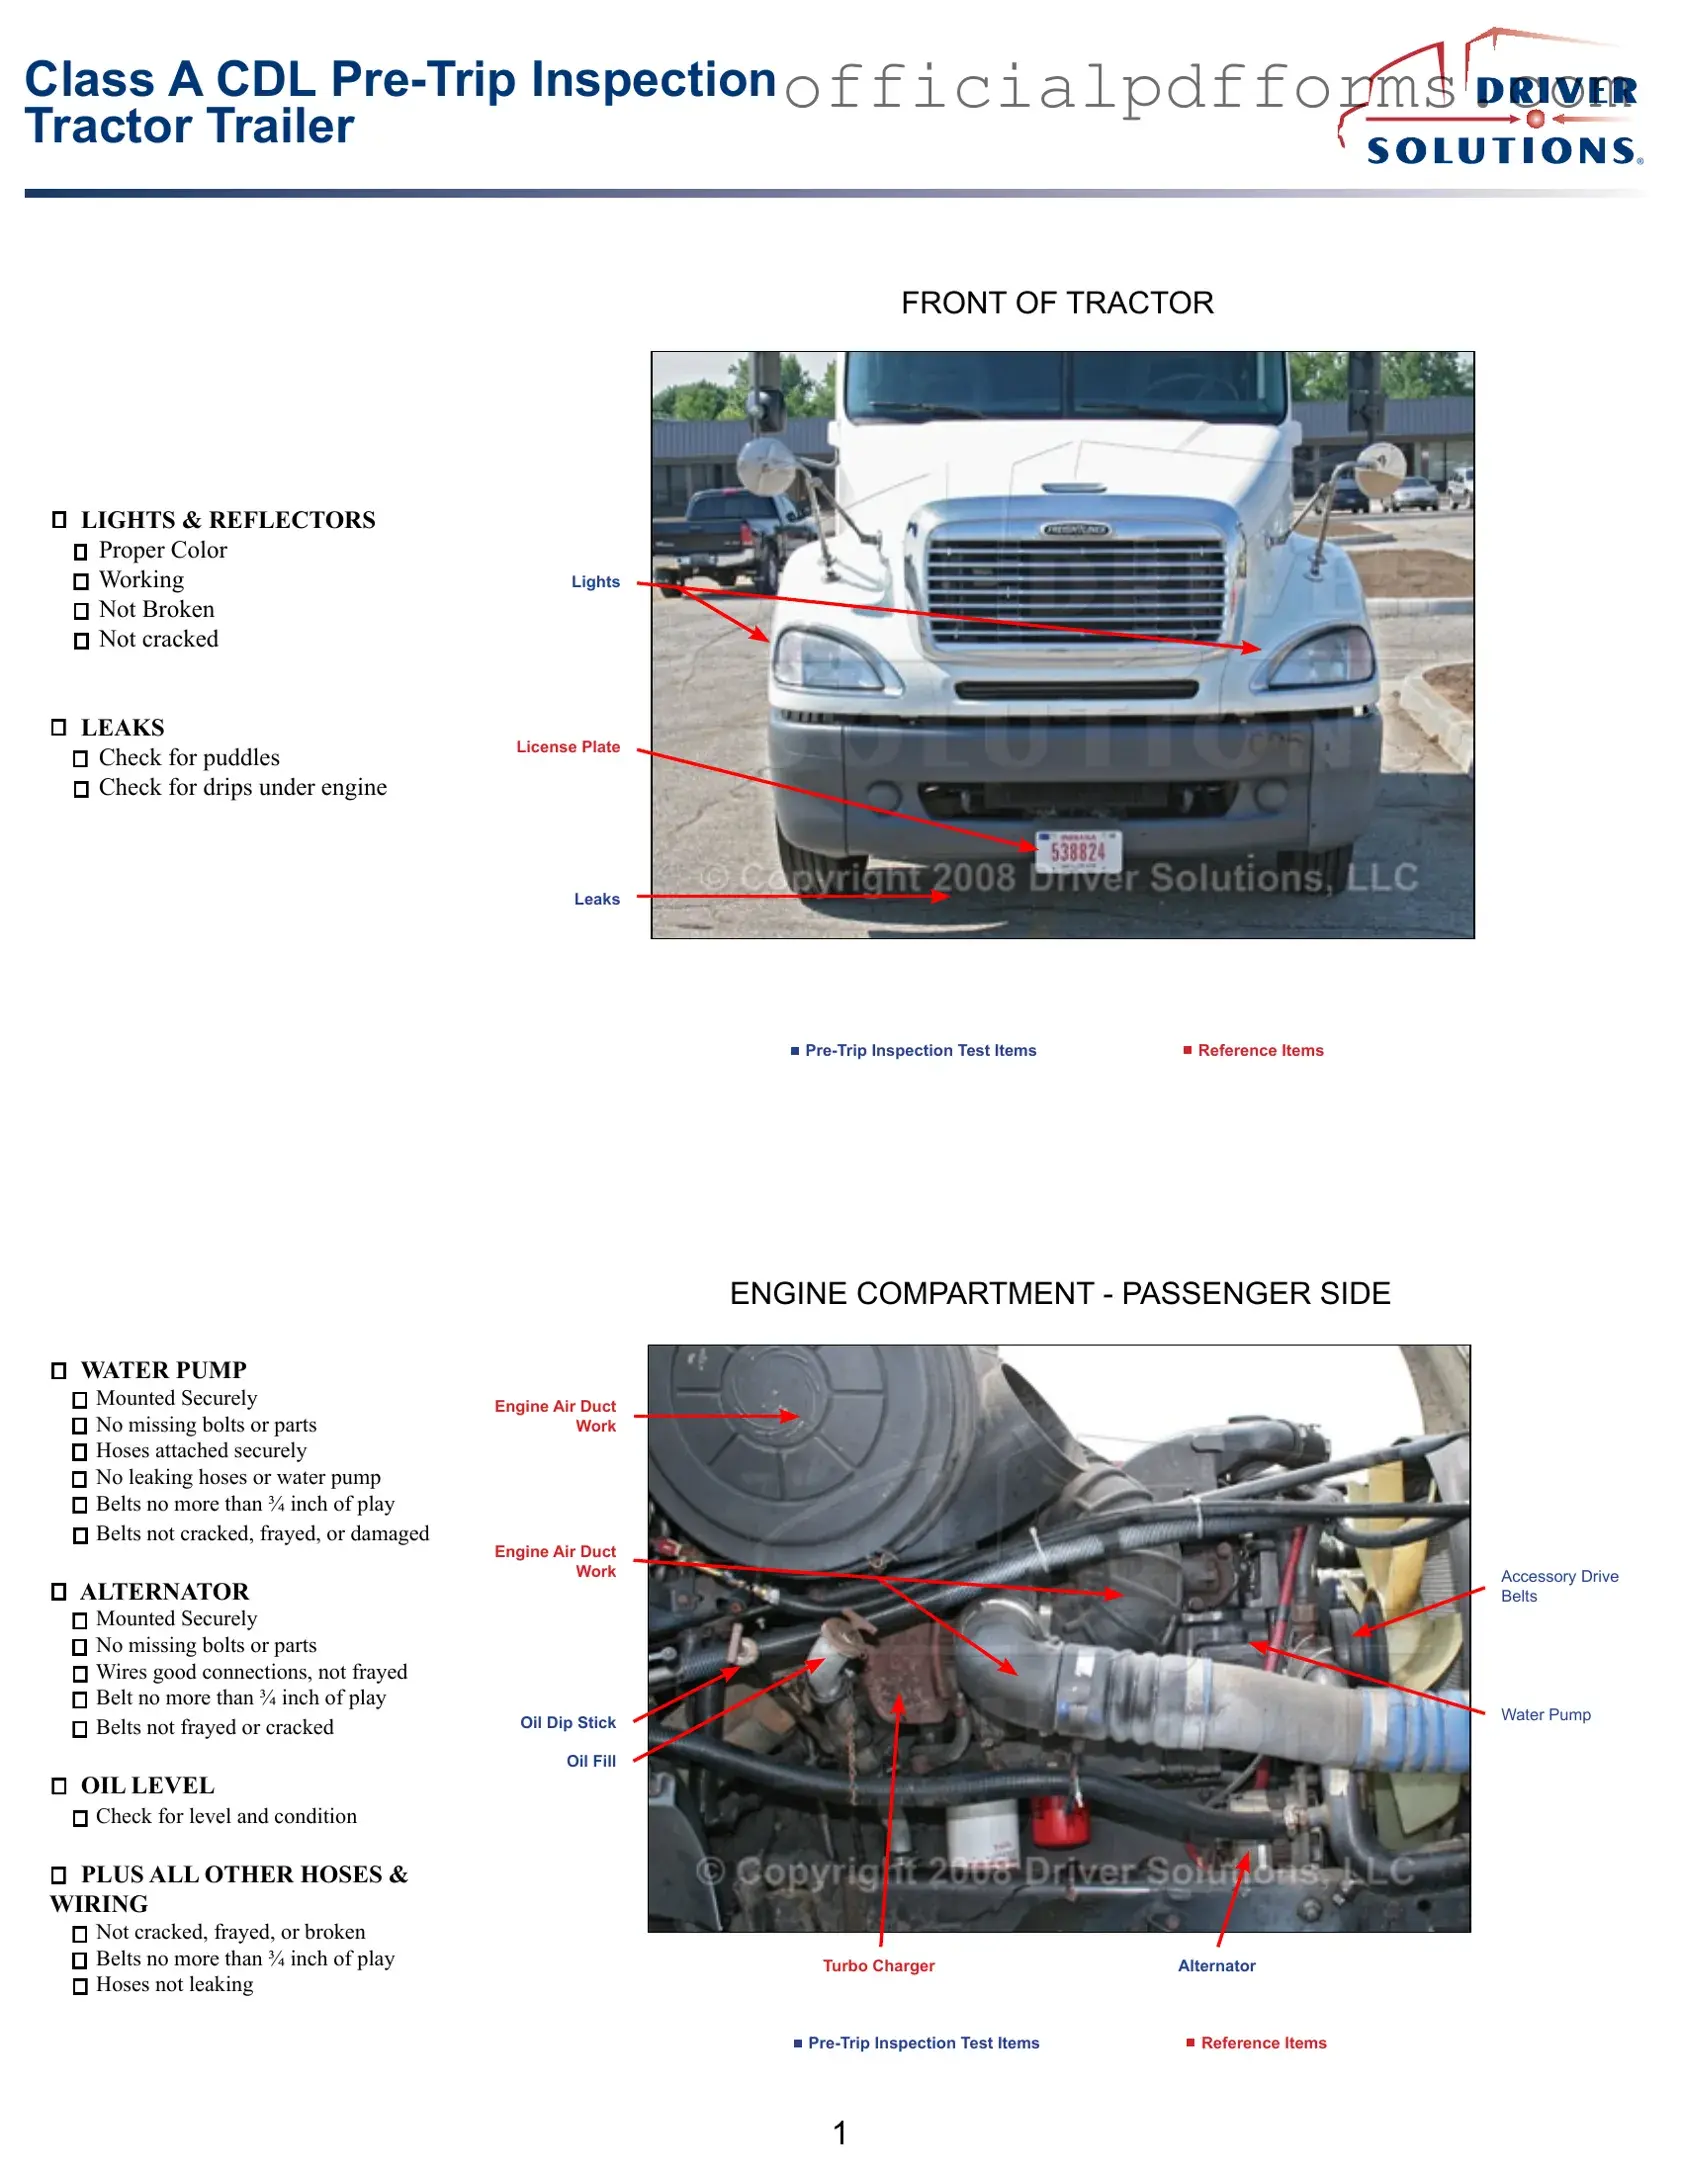
- Proceed to the first section of the checklist, which typically covers exterior components. Inspect items such as lights, mirrors, and tires. Mark each item as “OK” or “Needs Attention” based on your assessment.
- Move on to the interior components. Check the dashboard indicators, seat belts, and emergency equipment. Again, mark each item accordingly.
- Continue to the engine compartment section. Look for leaks, fluid levels, and overall engine condition. Document your findings as you go.
- Complete the brake system inspection by checking the brake lights, air pressure, and fluid levels. Record your observations on the form.
- Finally, review the entire checklist to ensure all sections are filled out. Make sure your notes are clear and legible.
- Sign and date the form at the bottom to confirm that the inspection has been completed.
Once the checklist is filled out, keep it in a safe place for future reference. This documentation may be required for inspections or audits, so maintaining accurate records is crucial for compliance and safety.
